用Spring Security 建立一个OAuth服务
本文的目的在于如果使用spring Security 建立一个OAuth服务,且演示如何调用OAuth服务来请求获取的资源。
1.OAuth2的基本原理

A为请求服务器,B为资源服务器
2.OAuth2 角色划分
1.Resource Sever --> 被授权访问的资源
2.Authorization Server --> Oauth2认证授权中心
3.Resource Owner --> 用户
4.Client --> 使用API 的客户端(比如:Android、IOS、web app…)
3.OAuth四种授权模式
1.授权码模式(authorization code)用在客户端与服务端应用之间授权
2.简化模式(implicit)用在移动ap或者web app(这些app是在用户设备上的,如在手机上调用微信来认证授权)
3.密码模式(resource owner password credentials)应用直接都是受信任的
4.客户端模式(client credentials)用在应用API访问
4.OAuth2环境搭建
4.1 引入Spring Security OAuth2依赖
pom.xml
        1.8
        UTF-8
        UTF-8
        2.3.7.RELEASE


    org.springframework.security.oauth
    spring-security-oauth2
    2.3.6.RELEASE


    org.springframework.boot
    spring-boot-starter-security


    org.springframework.boot
    spring-boot-starter-web
4.2 配置资源服务器
@RestController
@RequestMapping("/api/example")
public class ApiController {
    @RequestMapping("/hello")
    public String hello(){
        return "hello world!";
    }
}
提供一个资源http://localhost:8080/api/example/hello
@Configuration //能被springboot 扫描
@EnableResourceServer //注解,开启资源服务器。
public class OAuth2ResourceServer extends ResourceServerConfigurerAdapter {
    @Override
    public void configure(HttpSecurity http) throws Exception {
        http.authorizeRequests()
                // 对 "/api/**" 开启认证
                .anyRequest()
                .authenticated()
                .and()
                .requestMatchers()
                .antMatchers("/api/**");
    }
}
资源被限制了以后,就需要认证才能访问了
4.3 配置授权服务器
授权码模式
为授权服务器设置一个密码
@Configuration
@EnableWebSecurity(debug = true)
@EnableGlobalMethodSecurity(prePostEnabled = true, securedEnabled = true, jsr250Enabled = true)
public class MyWebSecurityConfiguration extends WebSecurityConfigurerAdapter {
    @Override
    public void configure(WebSecurity web) throws Exception {
        super.configure(web);
    }

    @Override
    protected void configure(HttpSecurity http) throws Exception {
        super.configure(http);
    }

    @Override
    protected void configure(AuthenticationManagerBuilder auth) throws Exception {
        auth.inMemoryAuthentication()
                // 在内存中创建用户并为密码加密
                .withUser("admin").password(passwordEncoder().encode("123456")).roles("ADMIN");
        //.withUser("user").password("123456").roles("ADMIN");
    }

    // 密码解析器
    @Bean
    public BCryptPasswordEncoder passwordEncoder() {
        return new BCryptPasswordEncoder();
    }
}
设置授权服务器
@Configuration
@EnableAuthorizationServer //授权服务器
public class OAuth2AuthorizationServer extends AuthorizationServerConfigurerAdapter {

    @Autowired
    private PasswordEncoder passwordEncoder;

    @Override
    public void configure(ClientDetailsServiceConfigurer clients) throws Exception {
        clients.inMemory() // <1>
                // <2> begin ...
                .withClient("clientapp")
                .secret(passwordEncoder.encode("112233")) // Client 账号、密码。
                .redirectUris("http://localhost:9001/callback") // 配置回调地址,选填。
                .authorizedGrantTypes("authorization_code") // 授权码模式
                .scopes("app","read_userinfo", "read_contacts") // 可授权的 Scope
			        	// <2> end ...
								//                .and().withClient() // 可以继续配置新的 Client // <3>
        ;
    }
}
授权服务器提供URL
/oauth/authorize:授权端点。
/oauth/token:令牌端点。
/oauth/confirm_access:用户确认授权提交端点。
/oauth/error:授权服务错误信息端点。
/oauth/check_token:用于资源服务访问的令牌解析端点。
/oauth/token_key:提供公有密匙的端点,如果你使用JWT令牌的话。
第一步:获取授权码
浏览器打开 http://localhost:8080/oauth/authorize?client_id=clientapp&redirect_uri=http://localhost:9001/callback&response_type=code&scope=read_userinfo
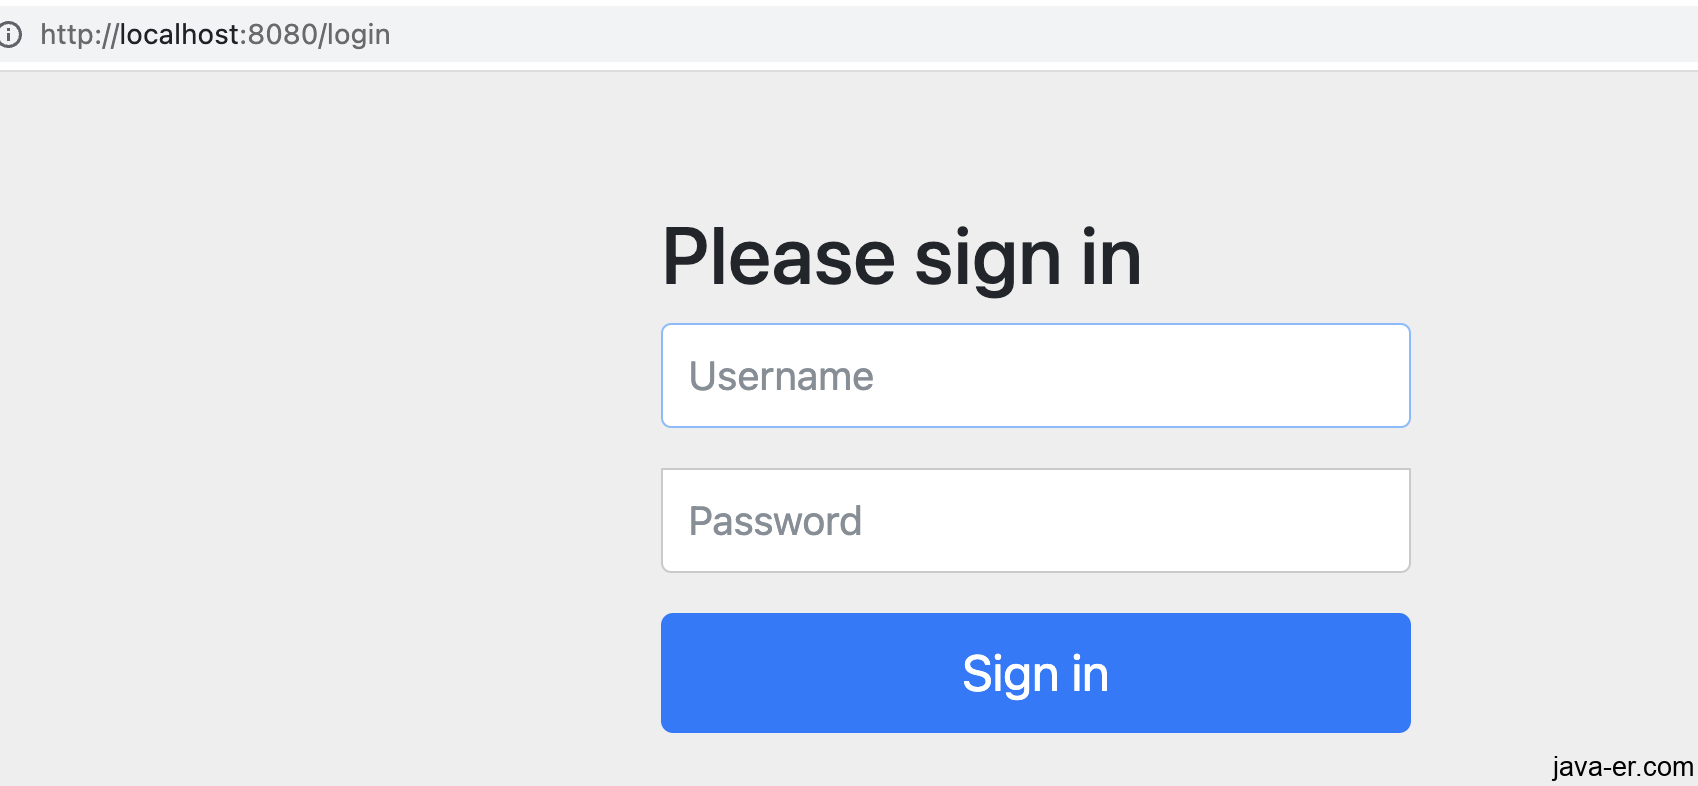
输入账户admin 密码123
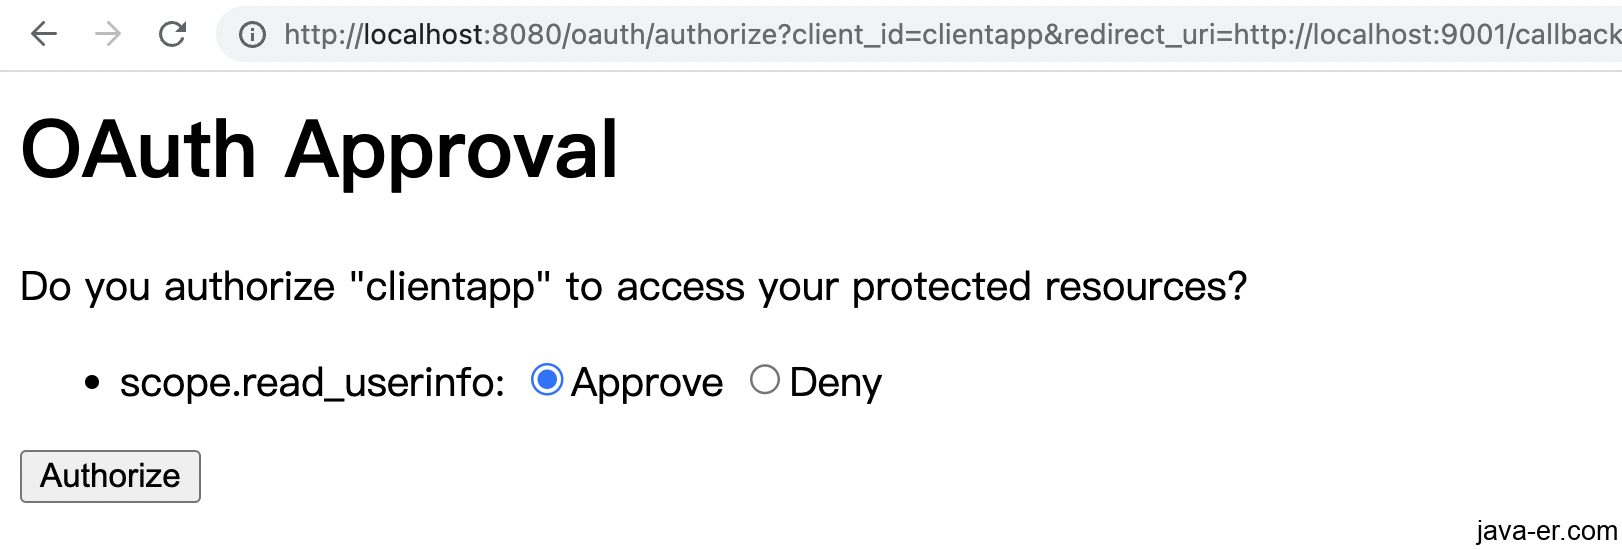
点击授权approve

我们得到了codev为vQ2AB2
不用管那个localhost:9001 能不能访问,那个代表客户端,我们可以自己创建一个springboot项目开启9001端口项目。也可以不管他,知道代表一个客户端即可
第二步:我们用apifox直接访问利用这个code来获取access_token
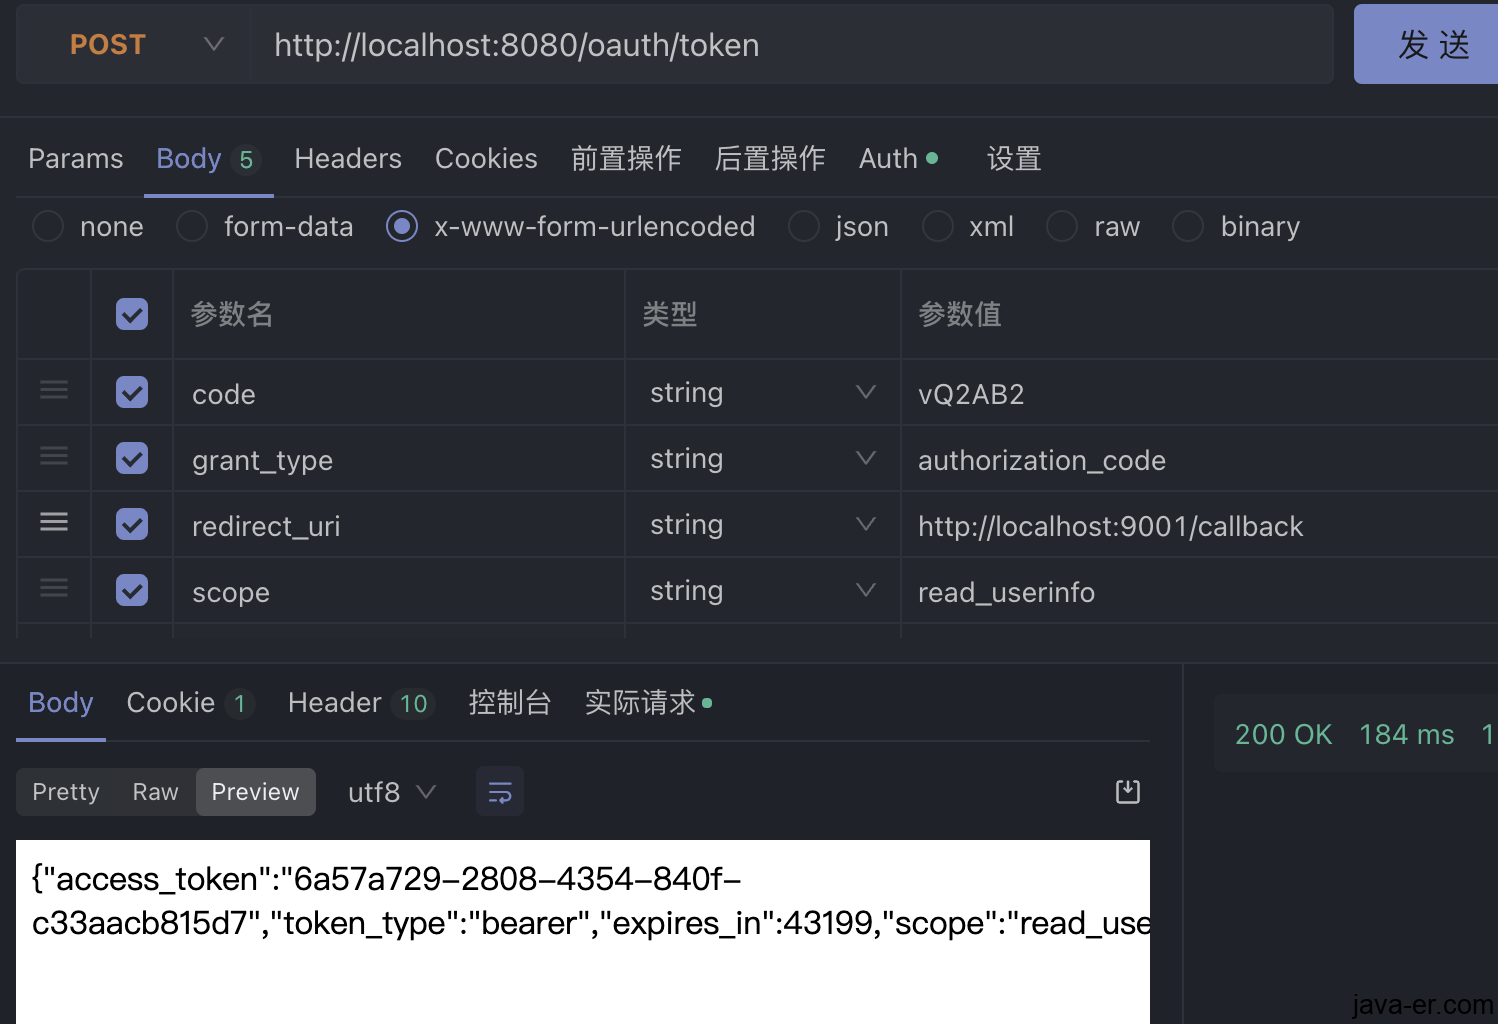
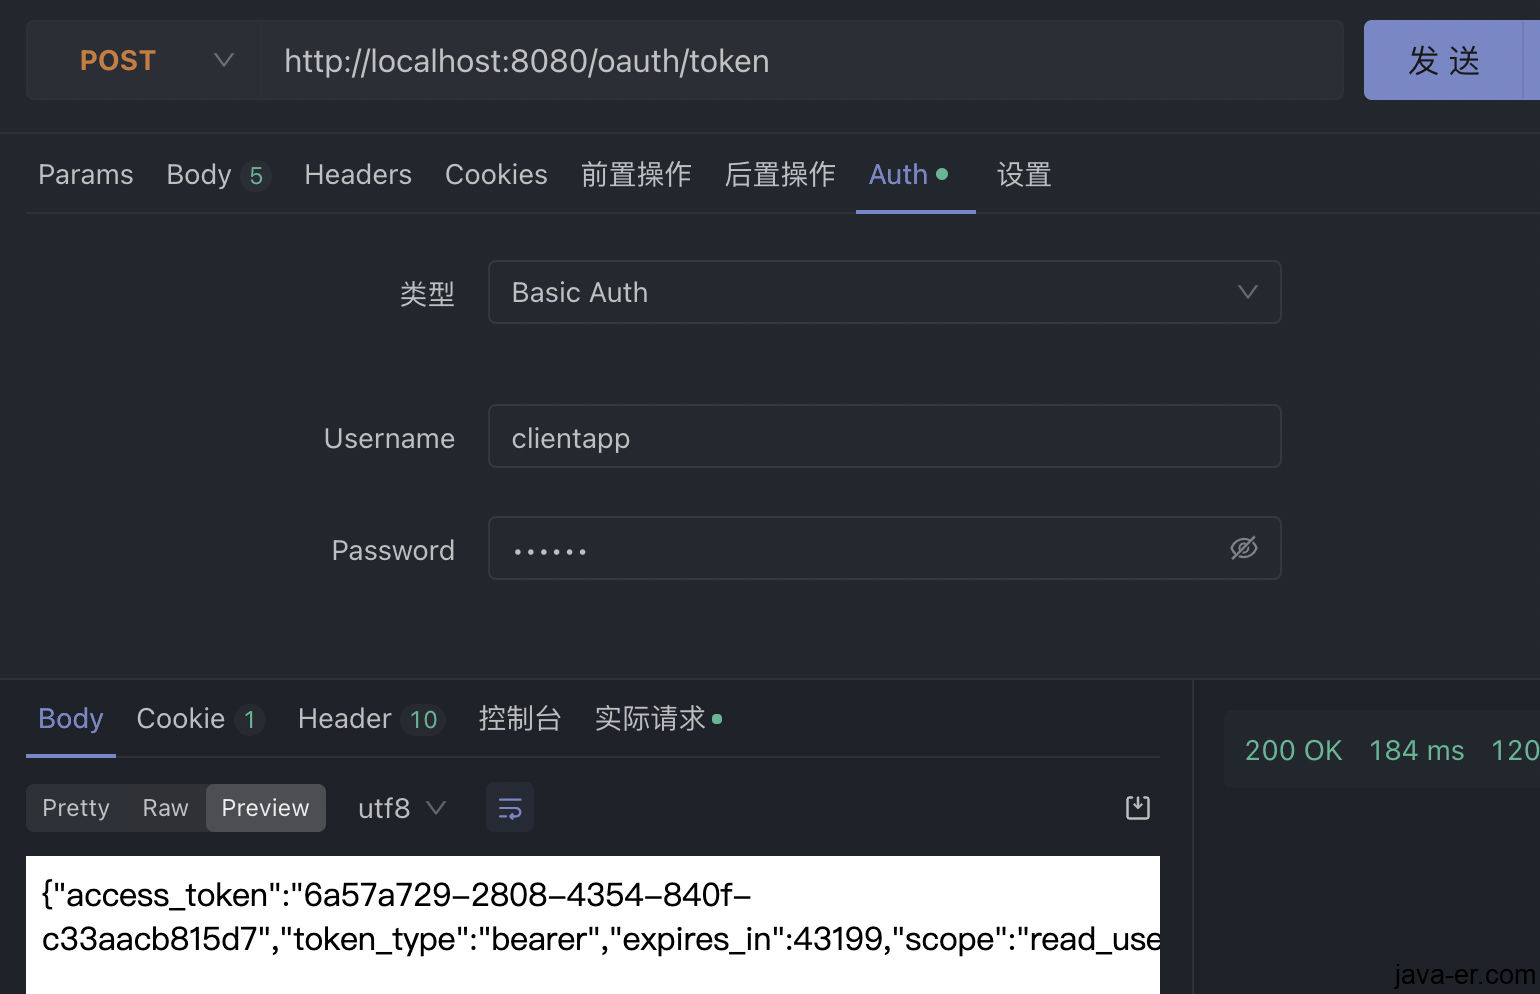
{"access_token":"6a57a729-2808-4354-840f-c33aacb815d7","token_type":"bearer","expires_in":43199,"scope":"read_userinfo"}
#### 第三步:用得到的token来获取最早我们要的资源

图里是正确的结果,假设我们改变了下token 那么返回
{
"error": "invalid_token",
"error_description": "Invalid access token: 6a57a729-2808-4354-840f-c33aacb815d71"
}
参考
auth2.0 配置案例
https://blog.csdn.net/weixin_42073629/article/details/105892371
https://blog.csdn.net/qq_34846877/article/details/106871831
本文的加密模式解决了问题
https://blog.csdn.net/qq_43437874/article/details/118760565
http://localhost:8080/oauth/authorize?client_id=clientapp&redirect_uri=http://localhost:9001/callback&response_type=code&scope=read_userinfo
http://localhost:8080/oauth/authorize?client_id=clientapp&client_secret=112233&response_type=code
访问发生
There is no PasswordEncoder mapped for the id "null"
https://blog.csdn.net/Hello_World_QWP/article/details/81811462
scope作用域
https://blog.csdn.net/jiangjun_dao519/article/details/125242434
https://www.cnblogs.com/zxl971213/p/12979994.html
Authorization Server Configuration
OAuth2
SpringBoot +springsecurity 实现OAuth2
https://blog.csdn.net/Cwh_971111/article/details/118208759
OAuth2
https://blog.csdn.net/weixin_47375952/article/details/124506598
https://github.com/lianglh/springboot-security-oauth2.git
OAuth2 原理讲解
https://www.cnblogs.com/Wddpct/p/8976480.html
https://zhuanlan.zhihu.com/p/436468046
http://www.ruanyifeng.com/blog/2014/05/oauth_2_0.html
https://www.ruanyifeng.com/blog/2019/04/oauth-grant-types.html
http://www.rfcreader.com/#rfc6749
SSO是什么,和OAuth2 有什么区别
https://blog.csdn.net/cristianoxm/article/details/115182080
JWT的缺点
https://zhuanlan.zhihu.com/p/263410154
SpringSecurity 按这个撸代码,能跑一个流程出来。
https://blog.csdn.net/u013343114/article/details/115440806
Thymeleaf
https://blog.csdn.net/Huang_ZX_259/article/details/122149393
https://blog.csdn.net/maidou0921/article/details/112689379
无特殊说明,文章均为月小升原创,欢迎转载,转载请注明本文地址,谢谢